
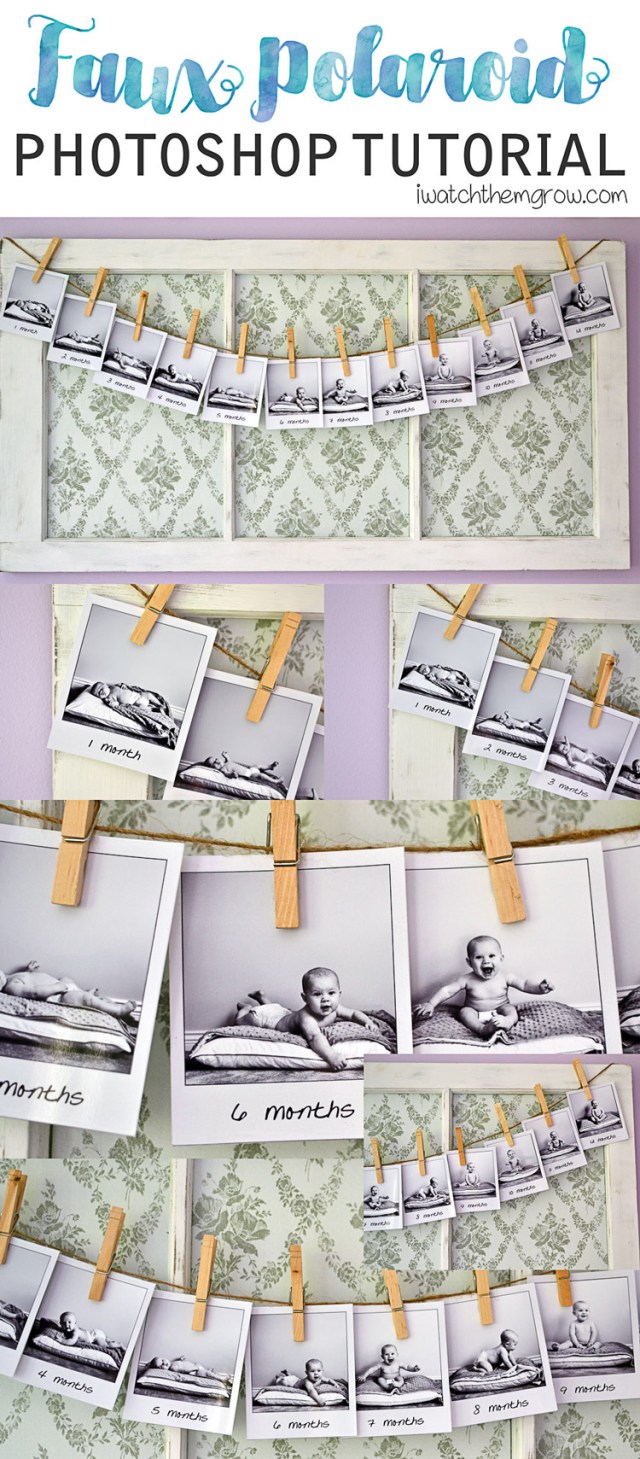
Today I’m sharing a faux Polaroid Photoshop tutorial for a fun photo display! The first camera I ever had was a Polaroid (holy nostalgia!) so when I found out I could create a faux Polaroid picture with my digital photos, I was a bit excited 🙂
Originally I made these faux Polaroids to display at my daughter’s first birthday party, but I loved how well they turned out so much that I decided to keep them for a photo display on her wall.
This post is a faux Polaroid Photoshop tutorial, but if you like the baby photos I used check out my post with tips for making your own “Watch me grow” baby’s first year photo project.
Faux Polaroid Photoshop Tutorial
1. The blank Polaroid frame I used for this project was free! It’s a Photoshop document ready to fill. Download from here.
2. Edit your photo first with basic corrections to exposure, contrast, etc. Since your photo is going to be in a Polaroid frame, you may want to do some “stylized” editing to make it look vintage with washed out colors, black and white, or whatever look you are going for.
I use the Pioneer Woman’s free action sets for highly stylized edits that are super simple (hint, the “Seventies” action from set 2 looks great as a Polaroid). I used the “B&W Beauty” action to make my Polaroids black and white.
3. Once you’re happy with the edit, merge the layers (if there’s more than one) so they all can go together in the Polaroid frame.
4. Open the Polaroid PSD file. The Polaroid center where your photo will go is approximately 4300 by 4300 pixels. If your photo is less than 4300 pixels either in width or height, you will need to resize the Polaroid frame first (shrink). Click the Image menu > Image Size… and reduce the width pixels to closely match your photo size. Make sure you have checked off “scale styles”, “constrain proportions” and resample image using “bicubic sharper” from the drop-down.
5. Go back to your open photo, then drag and drop the layer into your open Polaroid document.
6. Make sure the photo layer is above both Polaroid frame layers. Right click on your photo layer and select “create clipping mask” from the menu. Now your photo will only be visible in the black space of the Polaroid frame. Position the photo as you like with the move tool.
7. If you want to add text to the Polaroid as I did, put your text layer in between the bottom Polaroid layer and the Polaroid mask layer. I used a free font called “Written on His Hands”.

8. To print an accurate Polaroid sized photo, crop the Polaroid to remove the white border surrounding it, then reduce the image size to a width of 3 inches.
If you are just making one Polaroid picture, you can now print it.
To print multiple Polaroids on one page, do this:
1. Duplicate all the layers. To keep it organized you can put the new set of layers into a group (folder).
2. Add your second photo to the document, place it’s layer above the duplicated first photo layer. (Make sure it is a clipping mask to the Polaroid mask layer). You can delete the duplicate photo layer now.
3. Change the duplicated text layer to the text for the new photo.
4. Repeat for the rest of the photos you want in a Polaroid frame.
5. Change the canvas size to 8.5 x 11 inches (the size of your photo paper).
6. Spread the groups around the canvas so they’re not overlapping (at 3 inches wide each you’ll fit 4 per page.)

If you did more than fits on the page, just turn those layers off for now to print your first page, then turn them back on and your first ones off to print the next page.
7. Print and cut out with a paper cutter if you have one, or scissors. Fin!
Faux Polaroid Display Ideas:
- display by hanging on twine with wooden clothespins
- pin them to a cork board with pushpins
- put them up on your fridge with magnets
- place them in a scattered pile on a platter/tray on a side table for people to pick up and peruse
What are you going to do with your faux Polaroids? Any questions for me? Let me know!


No Comments